
The Secret to Perfect Homemade Vanilla Extract: Easy DIY Guide
RoniLynn ShroutHomemade Vanilla Extract


Homemade Vanilla Extract: A Complete Guide to Making Your Own Flavorful Essential
If you love baking or simply enjoy the aroma of sweet, rich vanilla, then creating your own homemade vanilla extract is a must-try kitchen project. Not only is it cost-effective, but you can also control the quality of ingredients, resulting in a more robust flavor than most store-bought versions. Ready to learn how to make vanilla extract at home? Let’s dive in!
Why Make Your Own Vanilla Extract?
- Superior Quality: By choosing high-quality vanilla beans, you’ll ensure a pure, authentic flavor without the additives often found in commercial extracts.
- Cost Savings: Although vanilla beans can be pricey, the long shelf life of homemade vanilla extract means you’ll save in the long run.
- Customizable Flavors: Experiment with different types of vanilla beans (Madagascar, Tahitian, or Mexican) and various spirits (vodka, rum, bourbon) to create unique flavor profiles.
Ingredients You’ll Need
-
Vanilla Beans
- Look for plump, oily beans with a strong aroma.
- The variety you choose—such as Madagascar Bourbon, Tahitian, or Mexican—will influence the flavor of your DIY vanilla extract.
-
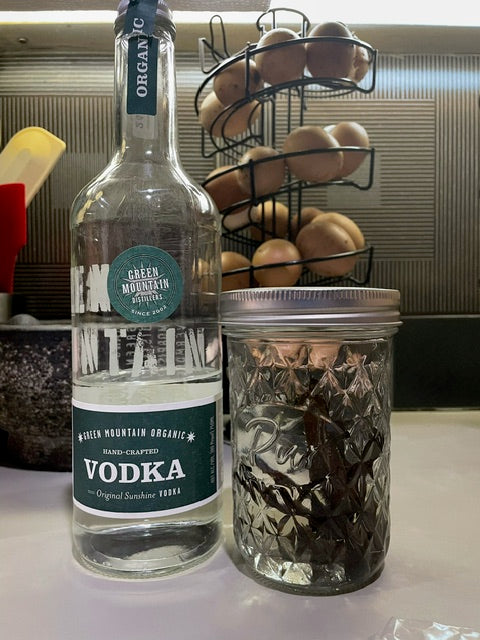
Alcohol
- Vodka is the most common choice due to its neutral flavor.
- Rum or bourbon impart unique, rich undertones.
- Aim for 70 proof (35% alcohol by volume) or higher for optimal extraction.


Step-by-Step: How to Make Vanilla Extract at Home
-
Split the Beans
- Use a sharp knife to slice each vanilla bean lengthwise.
- Gently open the bean to expose the tiny seeds inside.
-
Combine Beans and Alcohol
- Place the split beans in a clean, airtight glass jar.
- Cover completely with your chosen alcohol, ensuring the beans are fully submerged.
-
Seal and Store
- Seal the jar tightly to prevent evaporation.
- Store in a cool, dark place—like a pantry or cabinet.
-
Shake Occasionally
- Gently shake the jar every week or so to help the flavors blend evenly.
Ideal Extraction Time
- Minimum Steep: 4–6 weeks for a mild flavor.
- Optimal Steep: 2–3 months for a more potent extract.
- Best Results: Many enthusiasts let their extract mature for 6–12 months. The longer it steeps, the more intense the flavor.
How to Use Homemade Vanilla Extract
- Baking Essentials: Enhance cakes, cookies, and pastries with a rich, aromatic boost.
- Desserts and Confections: Elevate ice creams, custards, and frostings to gourmet status.
- Savory Dishes: Add complexity to sauces, marinades, or even savory glazes—try a splash in barbecue sauce or a balsamic reduction.
Pro Tips for the Best Results
-
Refill and Reuse
- Once the extract level gets low, top it off with more alcohol to continue the extraction process.
- Replace beans after 6–12 months to maintain flavor quality.
-
Keep It Dark
- Light can degrade the delicate oils in vanilla beans, so always store your extract away from direct sunlight.
-
Label It
- Mark the date you started the extraction on the jar.
- This ensures you know exactly how long the beans have been steeping.
Final Thoughts: Enjoy the Pure, Authentic Flavor of Homemade Vanilla Extract
Making DIY vanilla extract at home is straightforward, rewarding, and allows for endless customization. By choosing top-notch vanilla beans and experimenting with different spirits, you’ll create a one-of-a-kind flavor that’s sure to elevate everything from baked goods to savory sauces. With just a bit of patience, you’ll have a luxurious, aromatic extract that beats store-bought versions any day.


